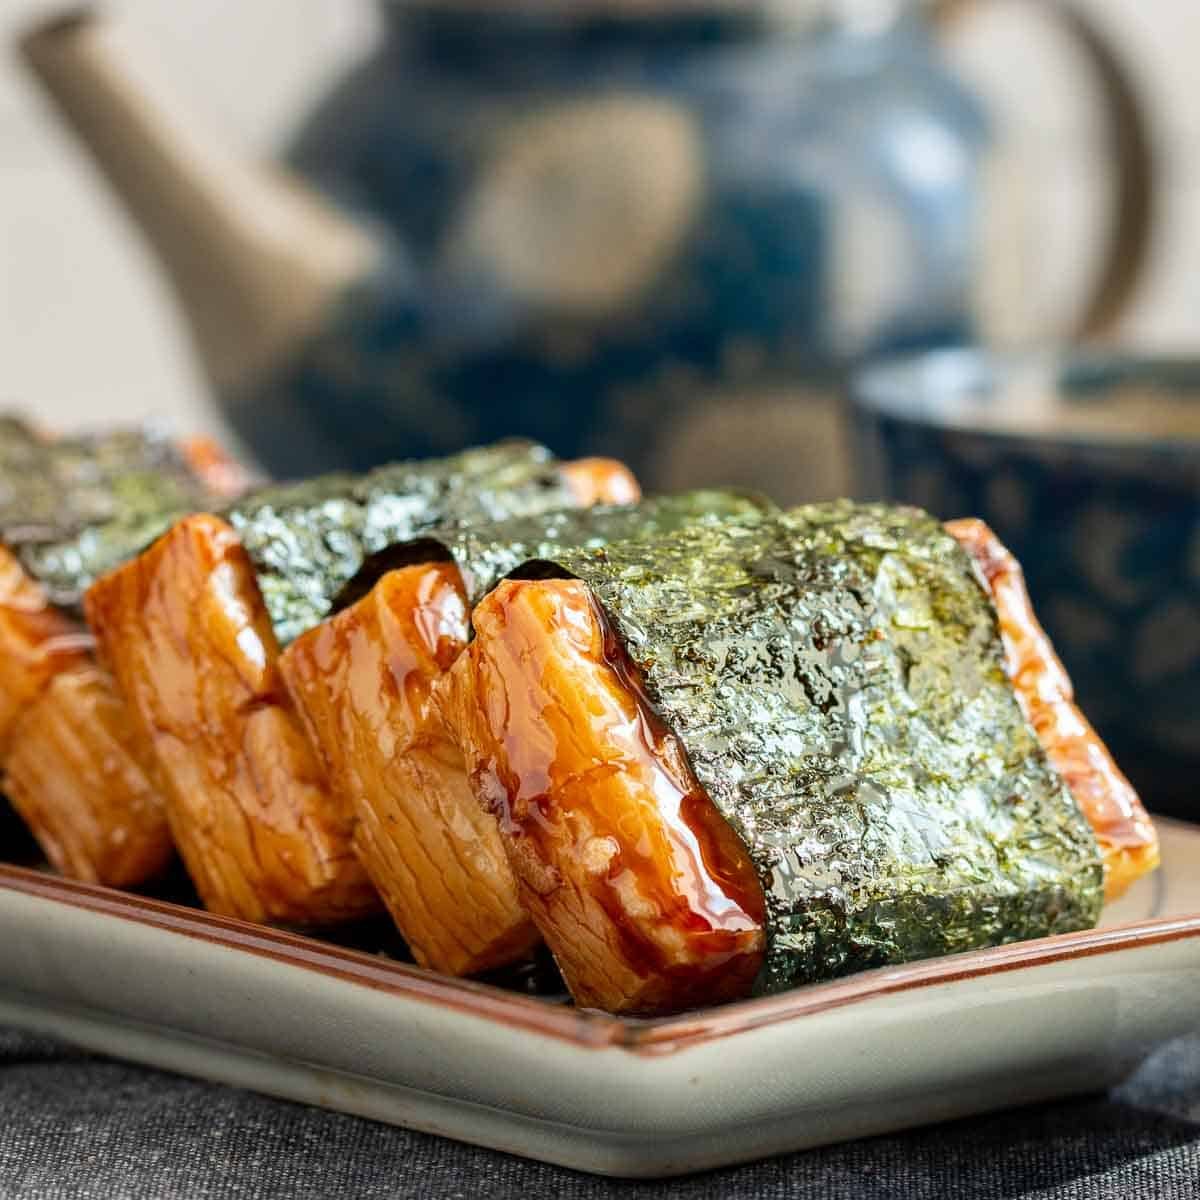
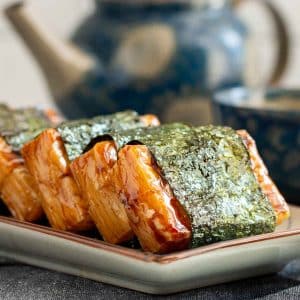
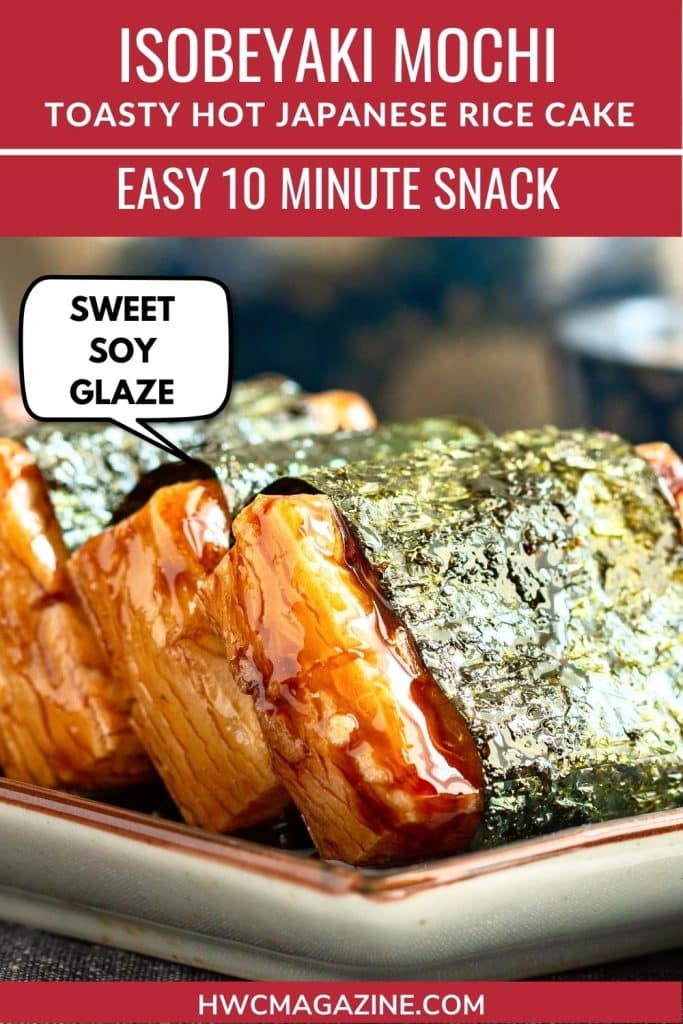
Say hello to your new favorite HOT Japanese snack - Isobeyaki Mochi. Grab a toasty warm mochi (Japanese rice cake). Drizzle on a little sweet soy sauce glaze, roll it up in nori (dried seaweed) and get ready for the ultimate treat. This iconic Japanese recipe is crispy on the outside but chewy on the inside. It's super easy to make at home with just 4 ingredients and cooks in 10 minutes!
Whether you prefer to bake, grill, pan-fry or even air fry your mochi, we have included all the instructions in this recipe guide. After Kirimochi (dried cut mochi) is cooked, it is delightfully toasty warm, golden, and addictively chewy. Are you ready to try one?
Jump to:
What's to Love
- Iconic childhood after school treats but adults love it even more.
- Naturally vegan. Gluten-free if you substitute tamari sauce for soy sauce.
- Great way to use up leftover mochi from the Japanese New Year, Children's Day, or Mid-Autumn festivities.
- Uses only pantry ingredients.
- Cooks in 10 minutes
- Isobe yaki is bursting with umami flavors and has diverse chewy and crispy textures, just like our Tuna Mayo Rice Balls.
- Whether you prefer to grill, bake, pan fry, or use the air fryer, you can choose what is most convenient for you.
- Pairs deliciously with tea or sake just like our Crab Sushi Bake!
Ingredients
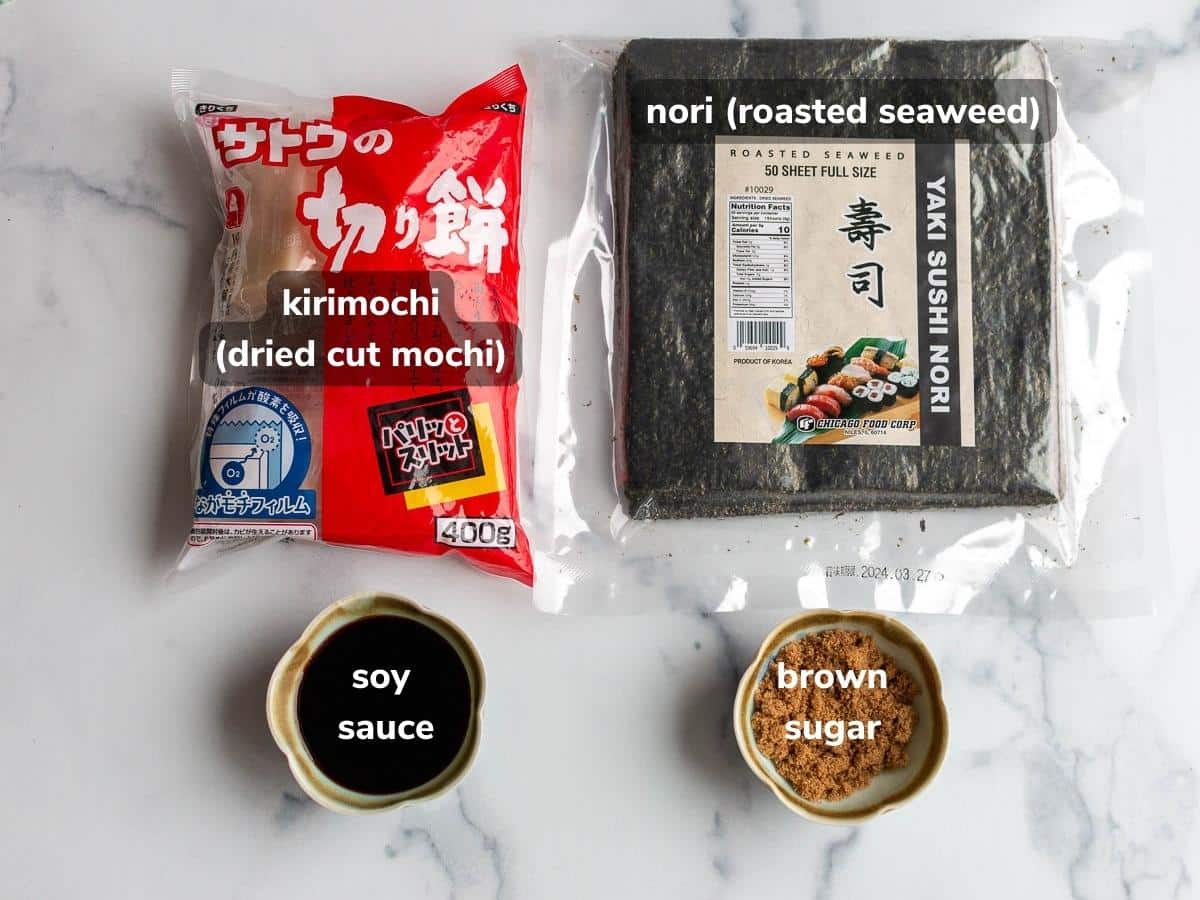
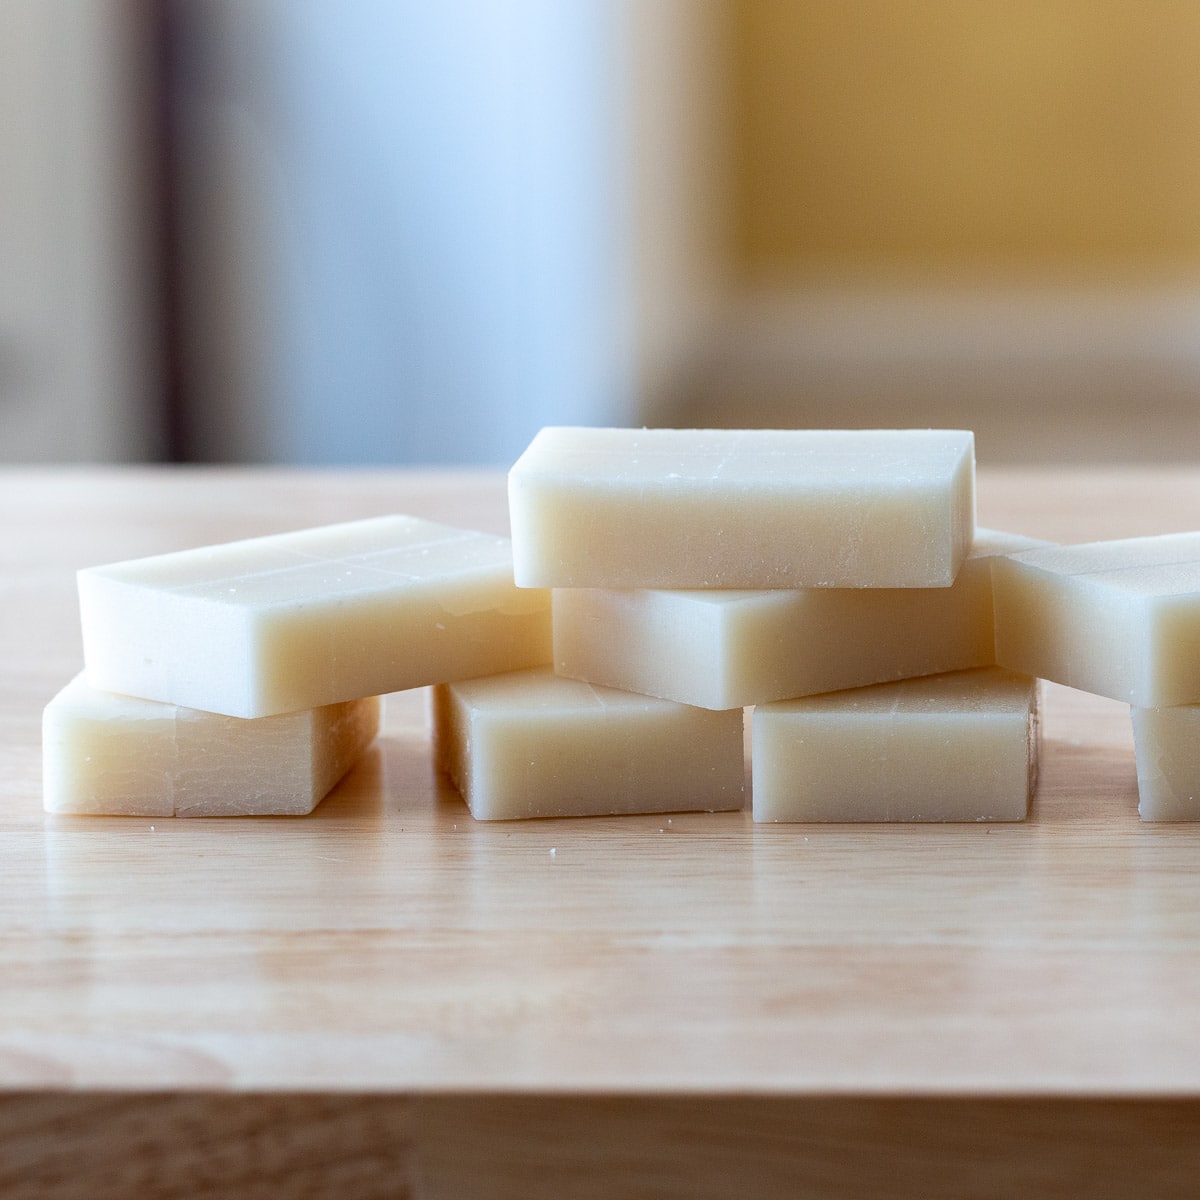
Kirimochi (切り餅) is dried plain cut mochi. You can find this ingredient in Asian Food stores or online on Amazon. They come usually in a package with each rectangular or round mochi individually wrapped. The rectangular cut kiri mochi works best in this recipe. The individually wrapping makes it convenient to make as little as one or up to 12 isobeyaki at a time. Mochi is a gluten-free food. If you are celiac, you will have to check the manufacturer to confirm it was processed in a gluten-free facility.
Soy sauce - If you need to keep this gluten-free, you can substitute with tamari sauce.
Brown sugar - or you can use regular sugar or a sugar substitute of choice.
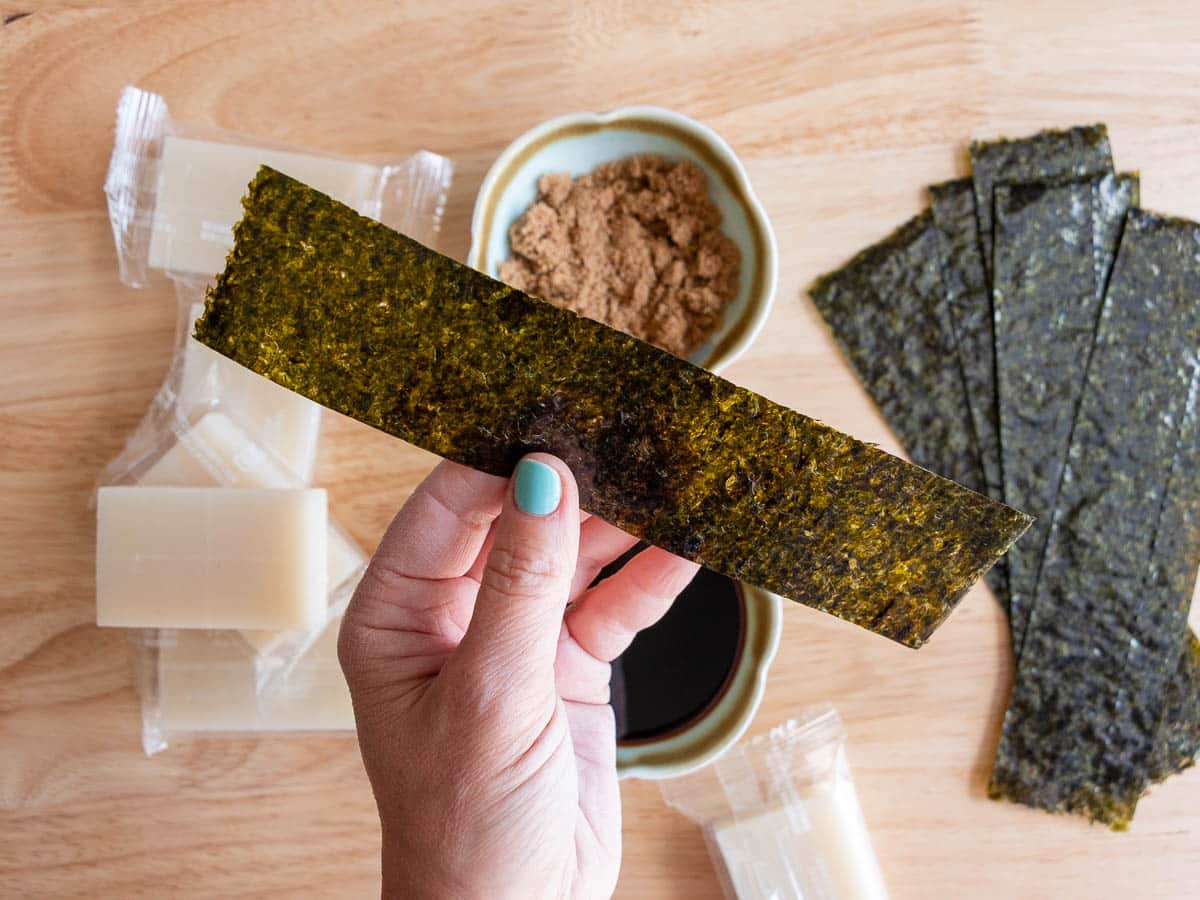
Nori - roasted seaweed sheets can be found at an Asian food store or online on Amazon. Many seaweed sheets have demarcated lines so you can cut them into sections. For a standard sized kirimochi rectangle, you will need approximately ¼ of standard nori sheet.
Step By Step
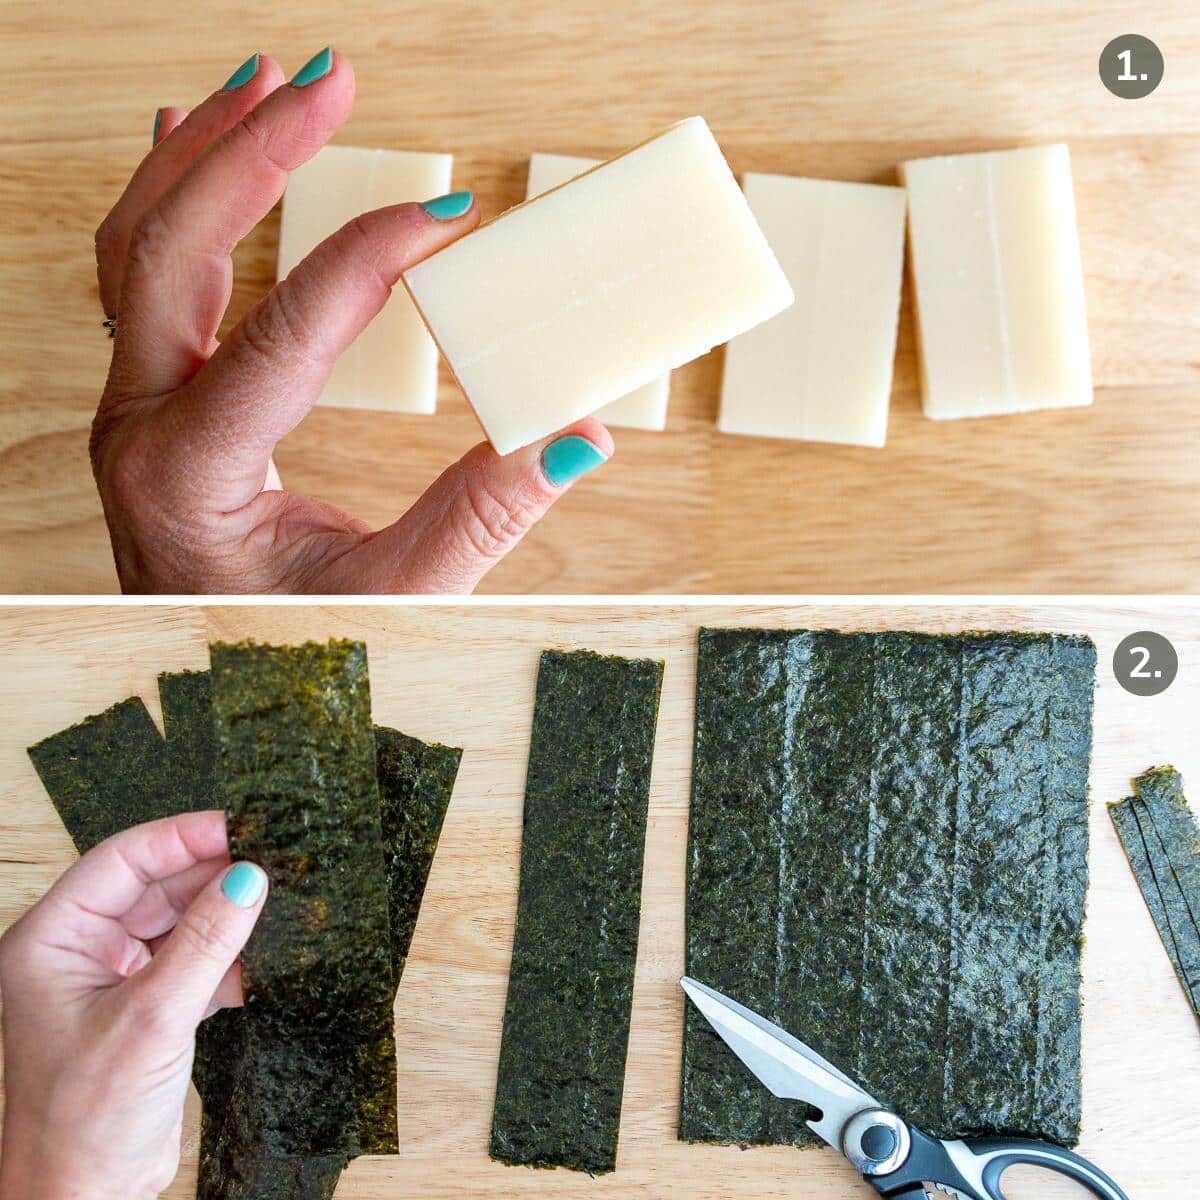
- Open the packages of kirimochi and cut the dried nori to fit around it.
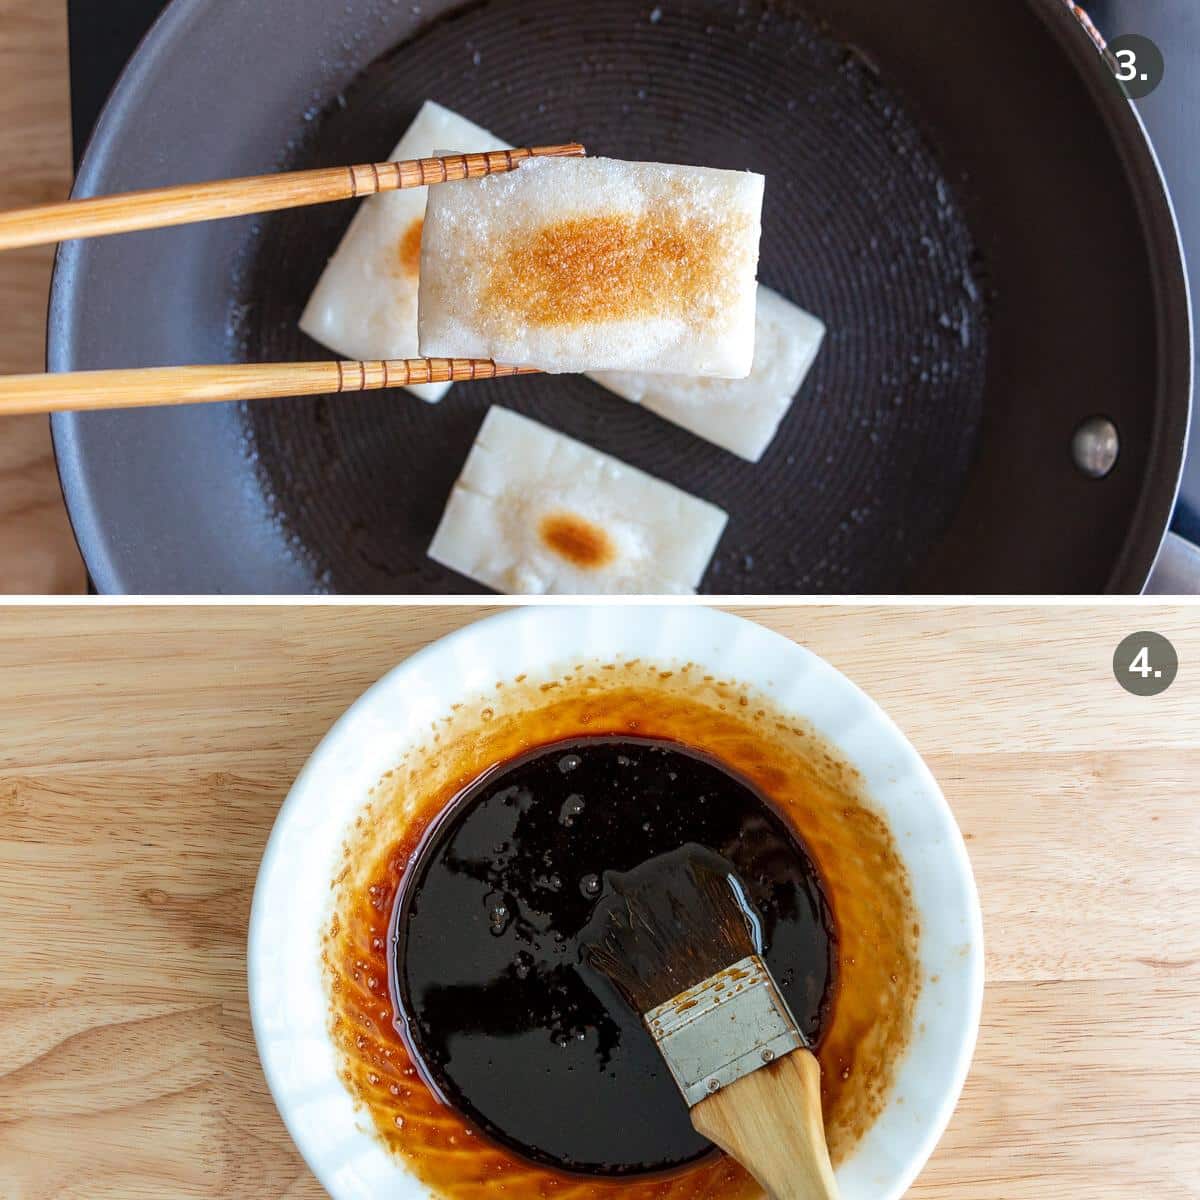
- Cook the kirimochi - Bake, air fry, pan-fry or grill until golden and crispy on the outside and chewy and soft on the inside.
- Make the sweet soy sauce - add equal amounts of soy sauce and brown sugar in a pan and simmer lightly for 1 to 2 minutes or microwave until it thickens and gets a little sticky. The sauce should be able to coat the back of a spoon.
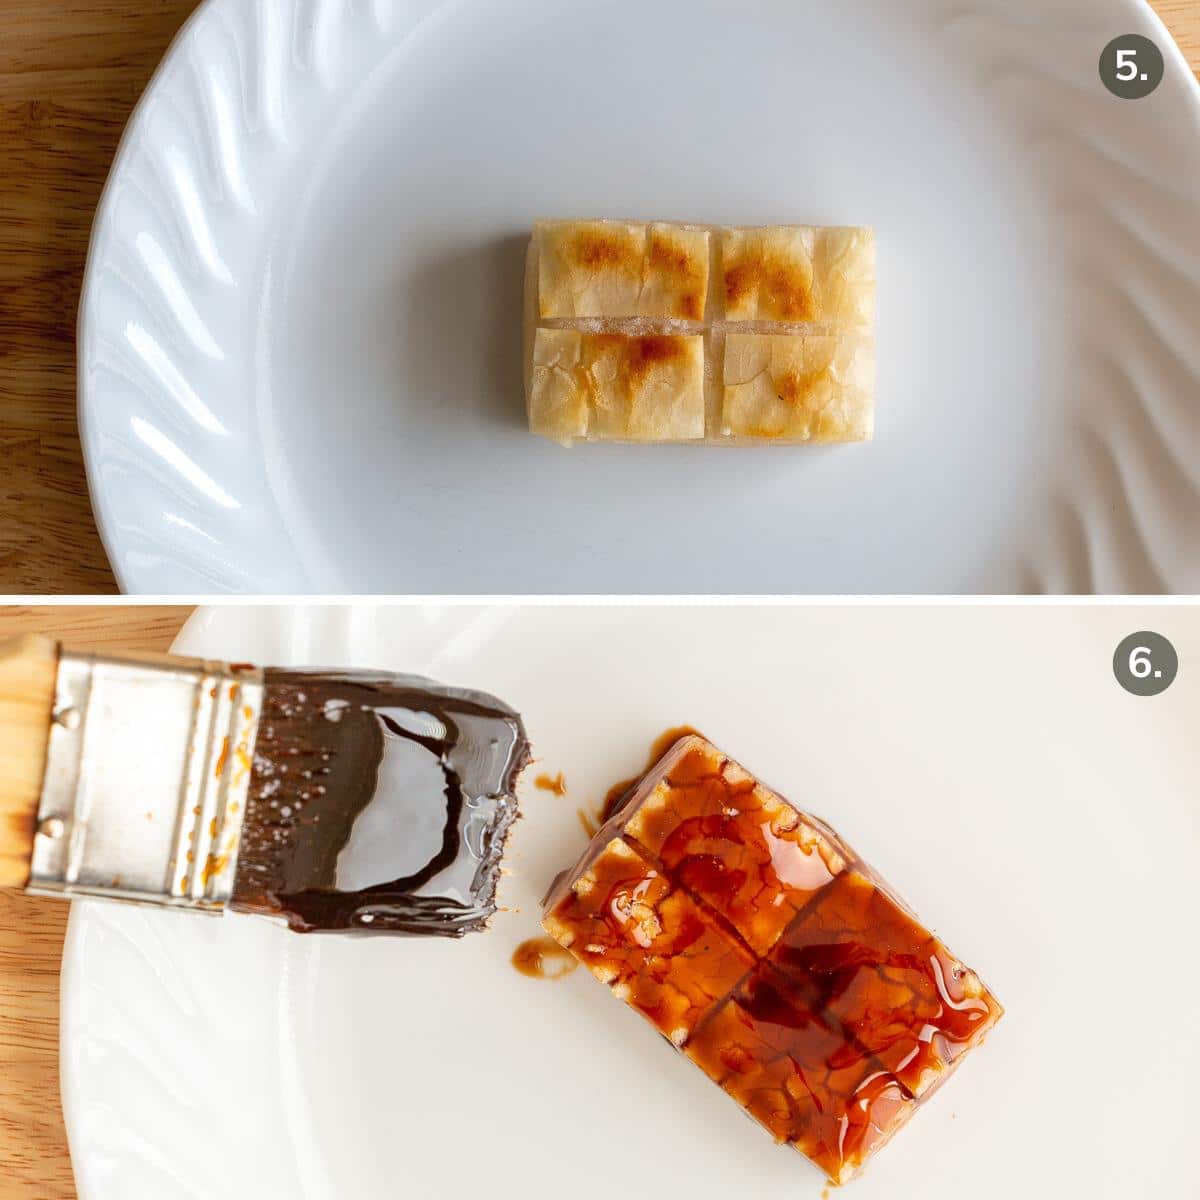
- Dip or brush the hot and toasty baked, air fried, pan fried or grilled kirimochi with the thick and sticky sweet soy sauce mixture.
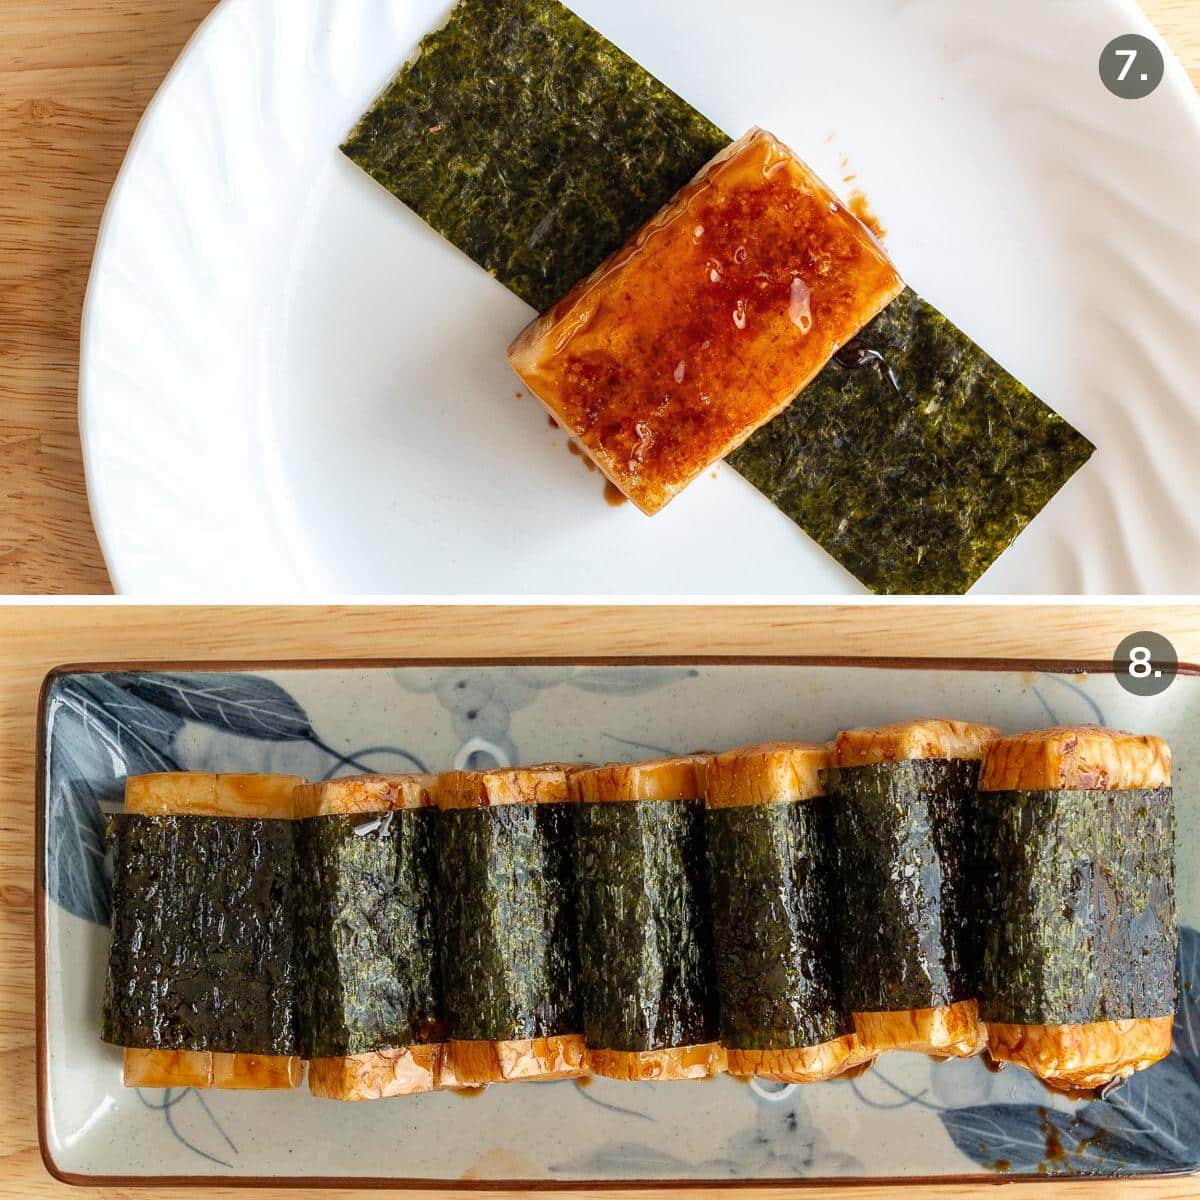
- Wrap and roll with a slice of roasted nori (dried roasted seaweed) and seal with a little of the sweet soy sauce mixture.
- Eat while hot and toasty.
When is yakimochi ready to eat?
Kiri mochi is a dried and cut mochi that must be cooked priot to eating to get it pliable and chewy. Don't try to bite into one raw or you might lose a tooth.
Kirimochi can be cooked either by baking, air frying, pan-frying or grilling. Once kirimochi is cooked, it is called yakimochi.
Yakimochi is done cooking when the outer layer is crispy and golden, the mochi starts to puff up and the inside is soft and squishy. However, you do not want to cook it so long that the mochi starts oozing out from the sides. There are 4 different options for cooking mochi.
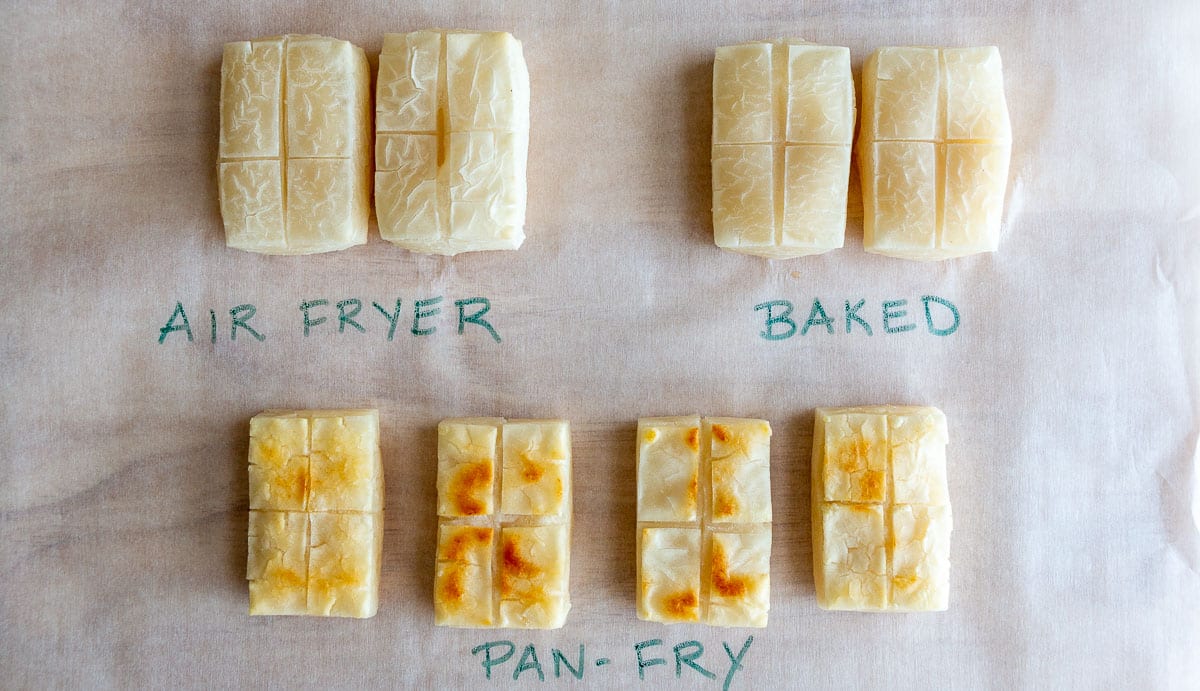
4 Mochi Cooking Methods
Please choose the cooking option that is most convenient and easy for you. We did some testing for you to find out how to cook kiri mochi using these 4 different cooking methods.
As you can see from our photo above, the different cooking options cooked the interior to a perfectly chewy molten consistency. The pan-fried and grilled options were our favorite because they had the best golden and crispy exterior.
- Baking at 375 degrees F (190 degrees C) for approximately 10 minutes turning halfway during the cooking process. (Line baking sheet with parchment paper or lightly oil baking sheet) This option is convenient if you need to make a lot of isobeyaki at once for a larger group)
- Air fry set at 400 degrees F (204 degrees C) for about 4 to 6 minutes, turning halfway during the cooking process. (Lightly oil spray the air fryer basket)
- Pan Fry at a medium heat in a lightly greased non-stick pan for approximately 4 to 5 minutes on each side.
- Grill or Grill pan - lightly grease and grill mochi over medium heat for approximately 4 to 5 minutes on each side.
Sweet Soy Sauce
- The sweet and savory soy sauce will continue to thicken as it sits. Just heat up the soy sauce and brown sugar mixture just until it can coat the back of the spoon and then remove from heat.
- Using a brush to slather on the sweet and savory soy sauce mixture works well. You can also just spoon a little sauce on both sides.
- Get that pot or pan that you used to heat up the sweet soy soaking in hot water as soon as you are done using it for easier cleanup.
Cooking Tips
- Whether you pan fried mochi or grilled mochi, please use a medium to lower heat. The reason being is the inside of the mochi needs to get warm and soft inside before the outside gets overly brown.
- Every oven, air fryer, grill and stove top can vary in heat levels depending on the make and model. Do not use the time clock as the only way to determine if the isobeyaki is done cooking. Instead, look to make sure that the mochi has started to puff up, turns golden brown or is crisp on the exterior and the mochi it should feel pliable.
- Don't cook the isobeyaki too long or it will end up like a pool of molten lava. The goal is you want the edges to be crispy but the inside to be tender.
- Sometimes, the baking methods and the air fry methods do not get the cooking mochi brown. However, the exterior will be crisp and the interior with be chewy.
- If you want to amplify the flavors of the sea, you can heat up your nori leaves in a dry pan for a few seconds on each side before wrapping.
Serving
- Isobeyaki mochi needs to be prepared and eaten right away while it is hot. The reason being is that when it cools the nori will start to get soft and the cooked mochi will start to harden.
- If the yaki mochi is starting to get cold, it can be reheated in the microwave. Pop it in the microwave for 20 to 30 seconds BEFORE slathering in the sweet soy sauce and covering in the nori for best results.
- Around the hanami (cherry blossom viewing season), we sometimes like to make a sweet sakura glaze for dipping. If you can find sakura extract at the market, mix with powdered sugar and raspberry juice for a pretty pink topping.
- We like to just pick it up with our fingers to eat but also can be served with chopsticks or even a fork.
Japanese Naming Conventions
You may have heard people talk about mochi, but in Japan there is a whole other world of mochi-based snacks that include isobeyaki, yaki mochi cake, kirimochi, norimaki or even nori. But what does this all mean? Let's take a moment to do a quick overview of some basic Japanese terms to help you understand the ingredients and cooking methods.
Mochi
"Mochi" is general term for Japanese rice cakes. There are 2 main kinds of mochi.
- Plain mochi is made from just two ingredients Japanese short grained sweet rice (Mochigome) and water. The traditional way of needing two people to pound the rice or even the more modern way with using a rice cooker takes some time and patience. That is exactly why people use convenient kirimochi. Kiri mochi is plain mochi that is dried and cut and can be found individually wrapped at Asian supermarkets or on Amazon. We used kirimochi for the recipe.
- Gyuhi is a soft type of mochi that is used to make wagashi or Japanese sweets like our Mung Bean Daifuku Mochi. Unlike plain mochi, gyuhi is made using a sweet glutinous rice flour.
Yakimochi
Yaki Mochi - "Yaki" is a cooking style such as grilled, broiled or pan-fried. "Mochi" refers to a pounded rice cake in Japanese. So essentially, yaki mochi means plain cooked mochi that has been grilled, broiled, pan fried, etc. In our Yakitori recipe, "Yaki" is grilled, and "Tori" refers to chicken for a delicious grilled chicken skewer recipe that is always a crowd pleaser. There are 2 main categories of Yaki mochi.
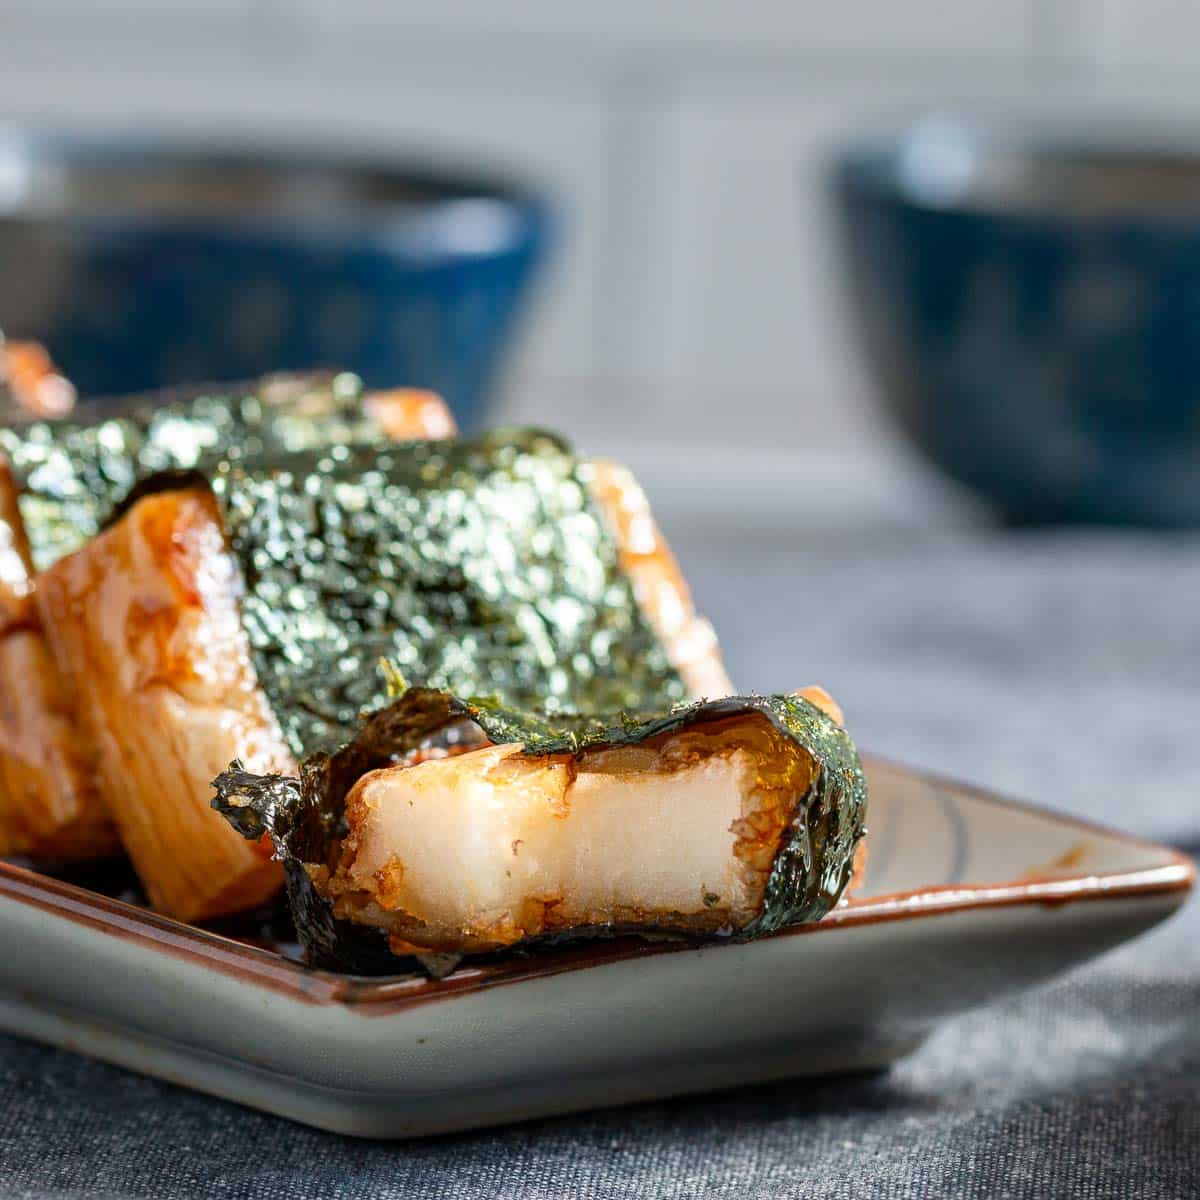
- Isobeyaki is sometimes also referred to as isobe yaki or isobe-yaki (いそべやき,イソベヤキ or 磯辺焼き) This is the special recipe we are making today. Isobeyaki is a subtype of yakimochi. Once yakimochi (cooked mochi) is dipped into a sweet soy sauce and wrapped in dried seaweed and it becomes isobe yaki.
- Abekawa is broiled mochi that is soaked in hot water and then covered with a mixture of sugar and a bean powder called kinako.
Nori
Nori is a dry edible seasoned seaweed that is used to wrap items like sushi rolls, Wasabi Mayo Crab Onigirazu or even as a topping to soups and salads.
Norimaki
"Nori", as you know from above, is dried seaweed. "Maki" means to roll. Therefore, norimaki means to wrap and roll in a dry edible seaweed. Our isobe yaki are wrapped and rolled in crispy nori just before serving.
Eat Mochi Carefully
This pan fried isobeyaki mochi recipe is a delicious treat. However, it can be a potential choking hazard for small children, elderly or those that have difficulty swallowing. Therefore, take small bites and chew well. We like to take little sips of tea between bites of isobeyaki. (The nurse is now stepping down from the soap box.)
What to Serve With?
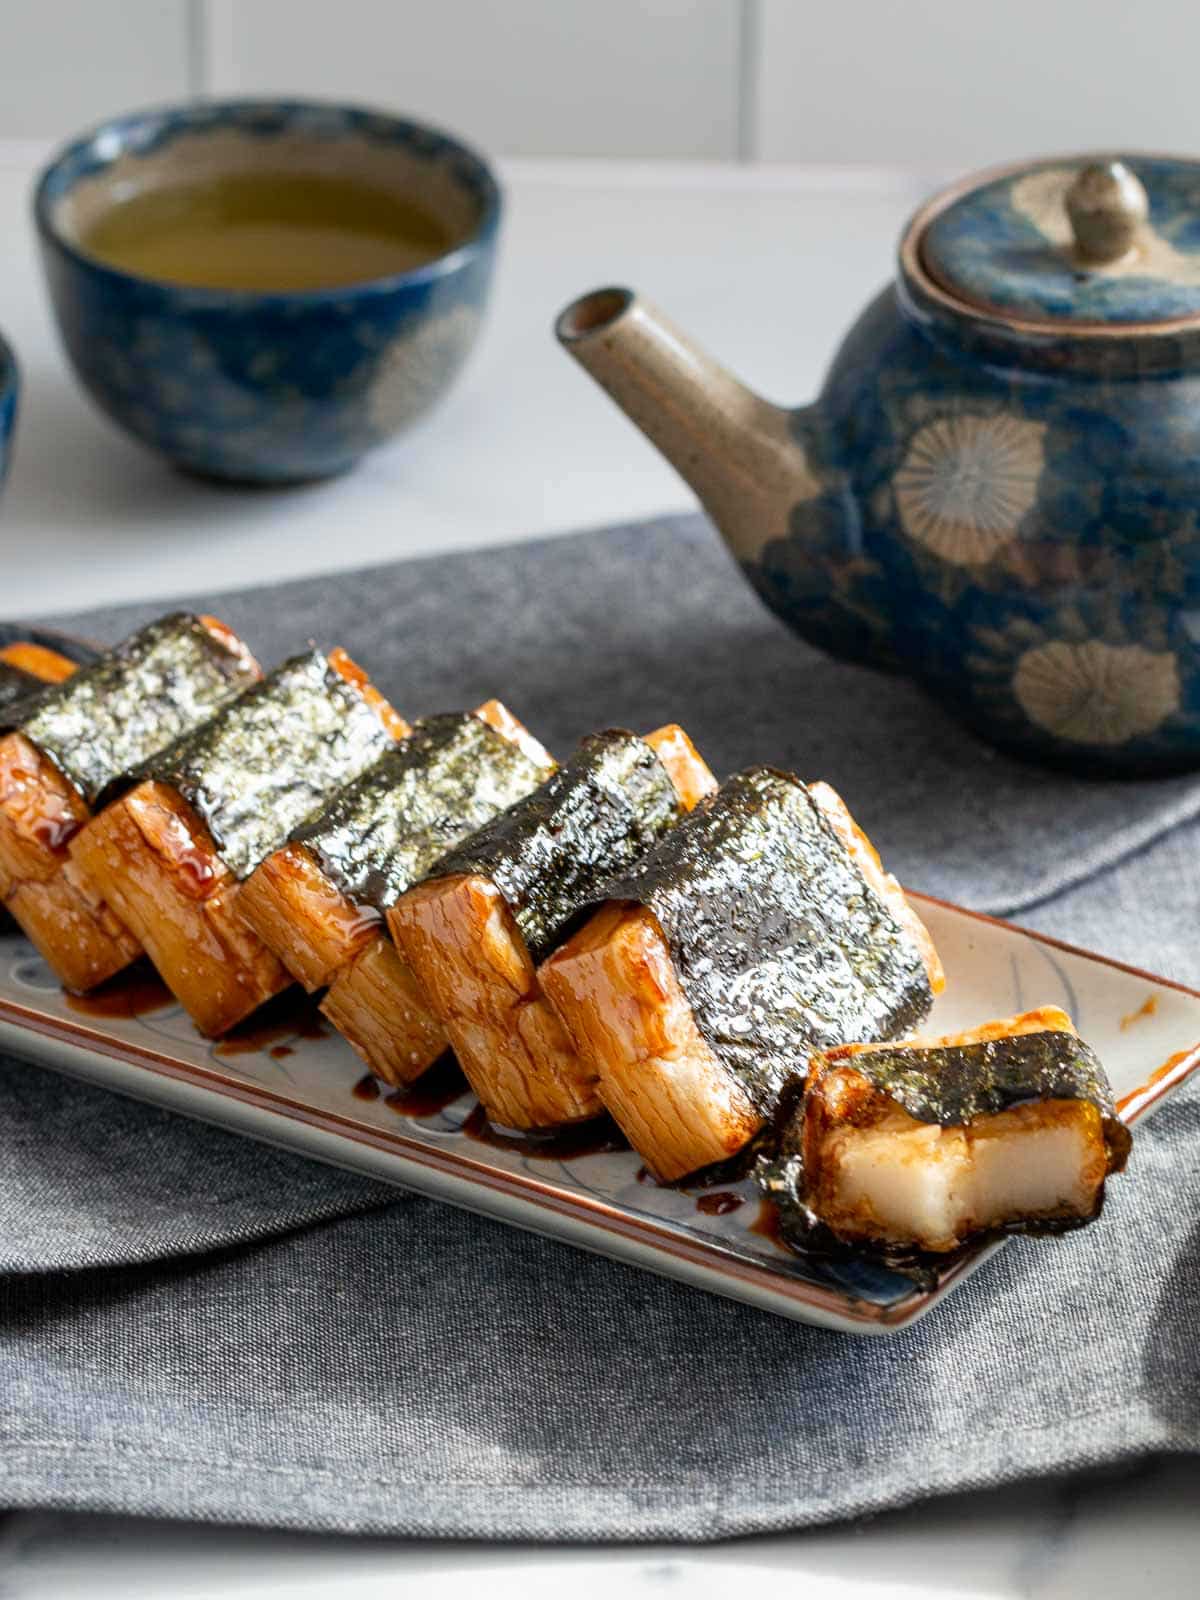
These little Japanese treats are perfect for teatime, afterschool snacks or even breakfast. We love to serve with a little Tranquil Lemon Ginger Tea, green tea or even a matcha latte.
As isobe yaki is slightly sweet and slightly savory. It can pair well with many different savory side dishes or snacks like our Sesame Burdock Root Salad, Japanese Egg Roll Tamagoyaki or our Lemon Daikon Refrigerator Pickles. For an evening snack, try with a little chilled or hot sake.
If you are hosting a little teatime gathering, we tend to add more of the sweeter companions like our gluten free and vegan Matcha White Chocolate Brownies or Matcha Red Bean Energy Balls.
Frequent Asked Questions (FAQ's)
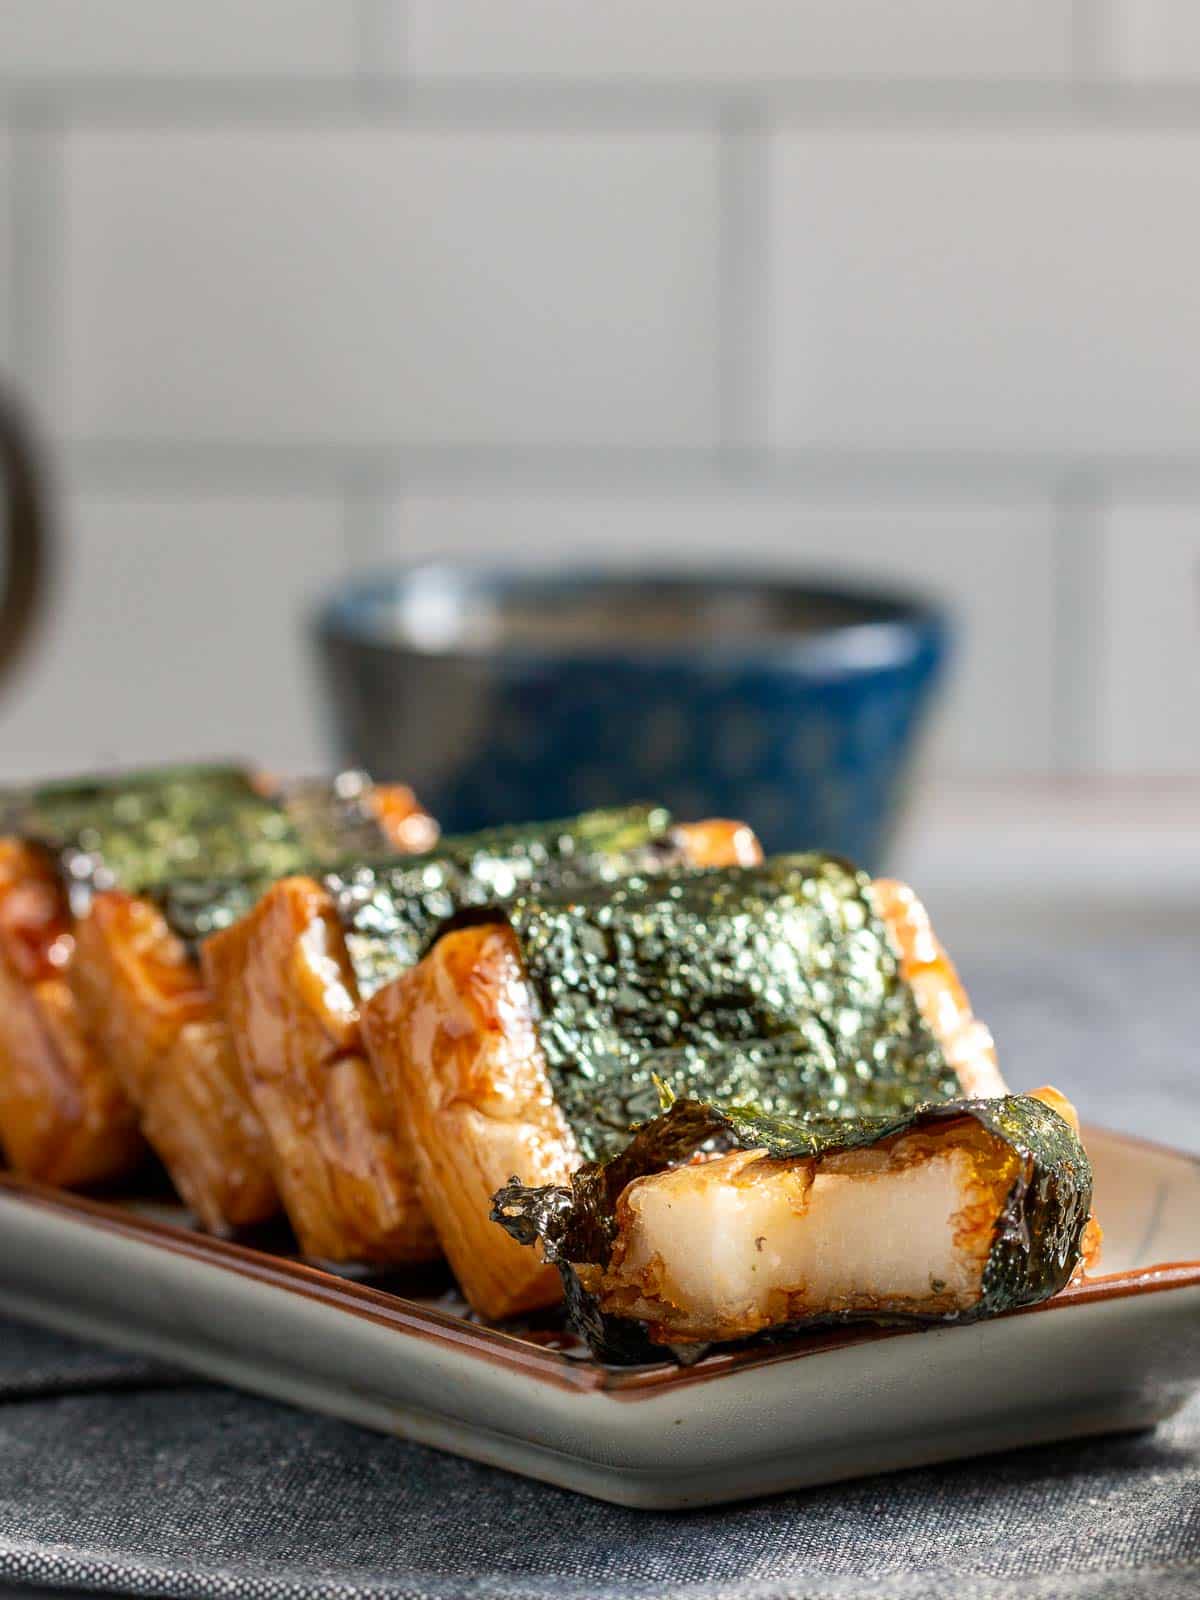
In Japanese, "Isobe" refers to the rocky shoreline where seaweed grows and is plentiful. The term "isobe" refers to any foods cooked with nori. "Yaki" is a method of cooking such as grilling, pan-frying, baking and broiled. The two terms together, isobeyaki, refers to cooked toasty golden mochi that is dipped in a soy mixture and wrapped in nori (dried Seaweed).
Isobeyaki is best eaten immediately after it is prepared while it is still hot, toasty, and chewy. If you refrigerate prepared isobeyaki, the nori (dried Seasoned seaweed) will get soggy and the mochi will start to harden. We suggest making only as much as you plan on eating at one time.
Remove the plastic wrapping. Heat frozen kirimochi in the microwave for about 30 seconds to thaw out. Then, proceed with your cooking method of choice.
Yes, yakimochi can be reheated in the microwave for about 30 seconds to soften.
More Japanese Snacks
Magic White Chocolate Brownies
Baked Match Lemon Glazed Donuts
Did You Like Our Recipe? Leave a ⭐⭐⭐⭐⭐ rating and/or a review in the comments section below. Your feedback is always appreciated! Follow us for more delicious recipes on Pinterest, Instagram, Twitter and Facebook! Don't forget to sign up for our email list for more free recipes.
Isobeyaki Mochi
Ingredients
- 5 Kirimochi (切り餅) plain dried cut mochi
- ¼ cup soy sauce or tamari sauce for gluten free option
- ¼ cup brown sugar
- 2 sheets dried nori leaves (roasted seaweed) 1 strip per Kirimochi (切り餅)
- cooking spray to prepare the baking pans
Instructions
Cook (4 Different Options)
- Option 1: Pan Frying - Spray a little light flavored oil in a non-stick pan. Pan fry the kirimochi on a medium low heat for about 3 to 5 minutes on each side or until golden and crisp on the outside and chewy in the middle.
- Option 2: Grilling or Grill Pan - Prep the grill or grill pan with a little oil to prevent sticking. Grill the kirimochi on medium heat for about 3 to 5 minutes each side or until golden and crisp on the outside and chewy in the middle.
- Option 3: Baking - Preheat oven to 375 degrees F (190 degrees C). Line baking sheet with parchment paper and/or a light oil spray to prevent sticking. Place the Kirimochi (切り餅) blocks on the prepared baking sheet. Bake for 10 minutes or until crisp on the outside and chewy on the inside. Turn the mochi cakes midway during the cooking process.
- Option 4: Air Frying - Preheat air fryer to 400 degrees F (204 degrees C) for 5 minutes. Prep the air fryer basket with a little oil to prevent sticking. Air fry kirimochi for about 4 to 6 minutes or until golden and crisp on the outside and chewy in the middle. Turn the mochi cakes midway during the cooking process.
Cut Nori (Dried Roasted Seaweed)
- Trim your nori (dried seaweed) sheets into 5 long strips. They should be slightly narrower than your kiri mochi cakes and be able to wrap around and overlap slightly so it can sealed. You will most likely need to cut the length as well so it not too long. (You will have some leftover nori and these are delicious in soups and salads)
Sweet Soy Sauce Glaze
- In the meantime, make the sweet soy sauce glaze in either a pan or in the microwave. Pan Method- Add soy sauce (or tamari) and brown sugar to a small non-stick pan. Cook and stir over medium heat until it starts to thicken - about 1- 2 minutes. Set asideMicrowave Method - Place soy sauce and brown sugar in a microwave safe bowl. Microwave in 30 second bursts for approximately 1 to 2 minutes. The sweet soy sauce glaze will thicken as it sets and cools slightly.
Wrap and Roll
- Immediately, brush the cooked kirimochi with the sweet soy sauce glaze and wrap up dried nori. Enjoy! Best served hot out of the oven.
Video
Notes
- The sweet and savory soy sauce will continue to thicken as it sits. Just heat up the soy sauce and brown sugar mixture just until it can coat the back of the spoon and then remove from heat.
- Using a brush to slather on the sweet and savory soy sauce mixture works well. You can also just spoon a little sauce on both sides.
- Get that pot or pan that you used to heat up the sweet soy soaking in hot water as soon as you are done using it for easier cleanup.
- Whether you pan fried mochi or grilled mochi, please use a medium to lower heat. The reason being is the inside of the mochi needs to get warm and soft inside before the outside gets overly brown.
- Every oven, air fryer, grill and stove top can vary in heat levels depending on the make and model. Do not use the time to cook the mochi as the only way to determine if the isobeyaki is done cooking. Instead, look to make sure that the mochi has started to puff up, turns golden brown or is crisp on the exterior and the mochi it should feel pliable.
- Don't cook too long the mochi or it will end up like a pool of molten lava. The goal is you want the edges to be crispy but the inside to be tender.
- Sometimes, the baking methods and the air fry methods do not get the cooking mochi brown. However, the exterior will be crisp and the interior with be chewy.
- If you want to amplify the flavors of the sea, you can heat up your nori leaves in a dry pan for a few seconds on each side before wrapping.
- If your yaki mochi is starting to get cold, it can be reheated in the microwave. Pop it in the microwave for 20 to 30 seconds BEFORE slathering in the sweet soy sauce and covering in the nori for best results.





Michelle says
I have all the ingredients to make this! I'm so excited -- my boys are gonna be in for a treat!
Raymund | angsarap.net says
This looks like a delicious Japanese snack that I would love to try. The recipe seems easy to follow with just a few ingredients, and the different cooking methods provide some flexibility in how to prepare the mochi. I appreciate the tips on how to cook and serve the dish, as well as the information on the ingredients used. Overall, it looks like a great snack that pairs well with tea or sake.
Heidi | The Frugal Girls says
I love how easy you've made this to prepare and your flavors are outstanding. It's hard to beat a 4 ingredient recipe that takes just 10 minutes to prepare!
Hannah says
I love mochi and I'm so happy to see this recipe! Traditional, savory versions don't get much attention outside of Japan. It's all sweet stuff, usually on or around ice cream. This makes my salt tooth thrilled!
HWC Magazine says
Thank you Hannah! That gives us a mission to bring on more savory snacks. We have many favorites but the biggest challenge is deciding which one to post first. Might have to send out a poll and find out. Take Care
Liz says
OK, I'll be right over so you can feed me all this marvelous food you make!!! Another dish I've never heard of but I know it would rock my taste buds in a good way.
HWC Magazine says
Awww- thanks so much Liz. Delighted to introduce you to new foods like our Japanese isobeyaki mochi. It's fun trying new things- right? Take Care
Tamara Andersen says
I am so intrigued by this sweet, savory, umami snack, and can't wait to make them! Thank you!
HWC Magazine says
So excited to show you something you have not tried before. Isobeyaki snacks are always a crowd pleaser.
Raul says
What a nice treat!!! Super delish!
HWC Magazine says
Thanks Raul. Isobeyaki mochi also pairs well with your favorite sake. Take Care
Jen says
We love Japanese food and especially this seaweed snacks we can get now at Kroger.
Bernice says
What an interesting dessert - I enjoy learning about the cuisine of other cultures. And yes it was and is very sad about all the Japanese went through two years ago... so sad... I am sure they are still rebuilding.
prettyeasylife says
Lovely dessert, great post, fascinating...
Rachel @ The Pescetarian and the Pig says
This dessert sounds so unique and the presentation is lovely. What a beautiful way to commemorate lost loved ones.
{Main St. Cuisine} says
Such a horrible event, however your reflections on the tragedy and the people of Japan (not to mention your close friends) are just right. It's good for all of us to pause and remember such a tremendous loss and pay tribute. I love hearing about these "exotic" desserts. Your photos always bring them to life for me!
Healthy World Cuisine says
Thank you Allison for taking a moment out to give tribute. I think they still have a hard road ahead but very slowly making it to their goals.
theglobalgarnishgeek says
Has it really been 2 years? It is good that the recovery has made much progress.
This looks like fun. Like a sweet sushi....
Healthy World Cuisine says
I know it is so hard to believe it has been this long...It is going to be a slow recovery but I know they will get there. I never thought of it this way but yes Norimaki is like a sweet sushi. Nori is dried seaweed and maki is grilled.